When you discover water dripping from your commercial building’s ceiling, your first call should be to Vanguard Roofing for emergency roof leak repair. But while you’re waiting for our team to arrive, the actions you take in those critical first minutes can mean the difference between a simple repair and extensive structural damage.
A roof leak doesn’t pause while you wait for help, and water doesn’t discriminate between valuable equipment, inventory, or important documents. Acting quickly and with a clear plan helps limit damage to your property, keeps repair expenses under control, and supports a safer space for everyone inside the building.
Step 1: Protect Your Interior Space and Move Valuables
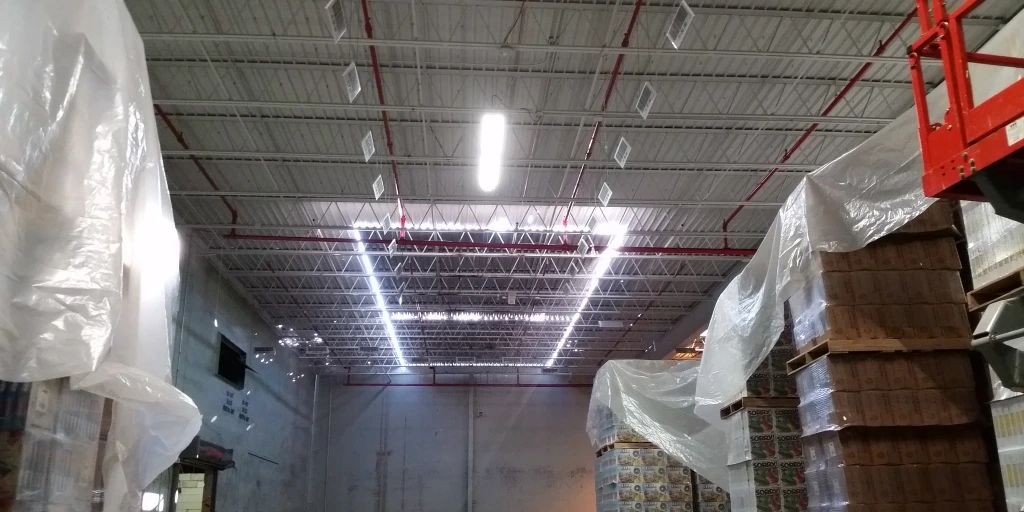
The moment you spot water entering your building, clear the area beneath the leak. Move furniture, equipment, electronics, and inventory away from the affected zone. Water spreads quickly, so create a safety perimeter that’s wider than the visible leak. Cover items that can’t be moved with plastic sheeting or tarps. If you’re dealing with sensitive equipment like servers or electrical panels, shut off power to that area if you can safely do so, and call an electrician if water has reached any electrical components.
Don’t overlook the floor. Place absorbent materials like towels or drop cloths around the leak zone to prevent water from spreading across floors and seeping into lower levels. If you have a drop ceiling, water may be pooling above the tiles, ready to burst through at any moment.
Document Everything With Photos and Notes
Before you start containing the leak, grab your phone and document the damage. Take clear photos of the water intrusion point, any ceiling stains or bulging, and the overall affected area. Capture images of any damaged property or equipment. Note the time the leak started and the current weather conditions. If the leak only appears during heavy rain or wind-driven storms, mention that detail. This documentation is critical for your insurance claim and helps the emergency roofing repair team diagnose the problem faster when they arrive.
Step 2: Contain the Water Flow
Once you’ve protected your valuables, focus on controlling the water. Place buckets, trash cans, or any waterproof containers directly beneath the leak. Here’s a trick that prevents messy splashing: hang a string from the leak point down into the bucket. Water will follow the string down in a controlled stream instead of splashing everywhere.
If you notice your ceiling bulging with trapped water, you’ll need to create a controlled drainage point. If the ceiling is drywall or acoustic tile and there are no signs of structural framing involved, use a screwdriver or small tool to poke a hole at the lowest point of the bulge. This sounds counterintuitive, but it prevents a catastrophic ceiling collapse that would release all that water at once. Place your bucket beneath before you puncture the ceiling.
Managing Multiple Leak Points
Water tracking is a common phenomenon in commercial buildings. The actual roof penetration might be several feet away from where you see water dripping. Water enters through a small opening, runs along rafters or roof decking, and drips down wherever it finds a path. If you’re seeing multiple drip points, they might all trace back to one roof breach. Place containers at each drip location, but understand that the emergency roof leak service commercial team will need to find the source, not just patch where you see interior symptoms.
Step 3: Identify the Leak Source (Safely)
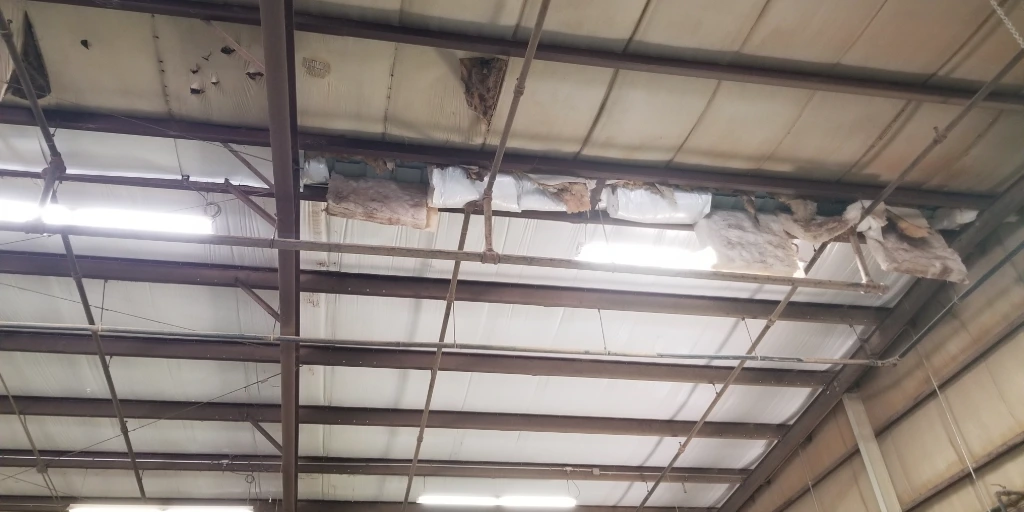
If you have safe access to the space above the ceiling, you can help locate the source before the contractor arrives. Never attempt this during active storms or if conditions are unsafe. Look for water stains, wet insulation, or damp rafters. Follow any visible water trails backward toward their origin point. You might notice “shiners” on nails—these are nails that look frosted or white from moisture exposure, indicating water presence.
Pay attention to areas near roof penetrations like HVAC units, vent pipes, skylights, or where different roof planes meet. These are common failure points. Check around chimneys and parapet walls. Note anything unusual you observe, as this information helps the urgent roof repairs team assess the situation before they even climb onto your roof.
What NOT to Do During Your Investigation
Never climb onto your commercial roof during a storm or in wet conditions. Flat commercial roofs become dangerously slippery when wet, and you risk serious injury or death from falls. Don’t attempt temporary patches from the exterior in unsafe weather. Your role is interior damage control and information gathering, not exterior repairs. Leave the rooftop work to professionals equipped with proper safety gear and training.
Step 4: Prepare for the Contractor’s Arrival
While you wait for the emergency roofing repair team, gather information that will help them work efficiently. Create a written summary of what happened: when the leak started, weather conditions, whether this is the first occurrence or a recurring problem, and any recent roof work or modifications. If you have roof maintenance records, warranties, or previous inspection reports, have those ready.
Clear a path to the affected area and to roof access points. If the team needs to bring equipment through your building, removing obstacles now saves precious time. Designate someone to meet the contractors and provide building access. If the leak is in a secured area, arrange for appropriate clearances ahead of time.
Communicate Building-Specific Concerns
Let the contractor know about any special considerations: Are there tenants or customers in the building who need notification? Are there hazardous materials stored nearby? Does the affected area house critical operations that can’t be disrupted? Are there access restrictions or required safety protocols for your facility? This information helps the roof emergency repair team plan their approach and bring appropriate equipment.
Step 5: Implement Temporary Water Diversion
If the leak is severe and you’re experiencing significant water flow, you may need to create temporary channels to direct water away from critical areas. Use tarps or plastic sheeting to create slopes that guide water toward drains or less sensitive areas. This isn’t a permanent fix, but it can prevent water from spreading while you wait for professional help.
Check your roof drains and scuppers only at visible ground-level discharge points, such as downspout outlets or exterior scupper exits. Sometimes leaks occur because drainage systems are clogged, causing water to back up and find alternative paths into the building. If you can safely clear visible debris from exterior drain openings, do so. Do not try to access the roof or stretch over the edge to clear drains, even if the clog looks small or manageable.
Know When to Evacuate
Some situations require evacuation rather than containment. If you see the ceiling sagging over large areas, evacuate that space immediately and prevent entry. If water is actively contacting electrical systems and you can’t safely shut off power, evacuate and call emergency services. If you detect a gas odor or see signs that the structure may be compromised, evacuate the building immediately and contact 911. The well-being of you and everyone inside the building should always come before protecting the property itself.
What Happens When the Emergency Team Arrives
When Vanguard Roofing’s emergency response team reaches your property, they’ll perform a rapid assessment of both interior damage and exterior roof conditions. They’ll locate the source of the leak, implement temporary weatherproofing measures, and develop a plan for permanent repairs. Our team carries emergency patching materials, tarps, and sealants to stop active leaks immediately.
The emergency roof repair might involve temporary tarping, emergency sealant application, or quick patching, depending on the extent of damage and weather conditions. Once the immediate crisis is contained, we’ll provide a detailed assessment of required permanent repairs and work with you on scheduling and insurance coordination.
Contact Vanguard Roofing Today
A roof leak demands immediate attention, and the steps you take before help arrives can significantly reduce damage and costs. Since 1972, Vanguard Roofing has been the trusted emergency roof leak service that commercial buildings throughout the Northeast rely on when disaster strikes. Our team responds quickly, works safely, and delivers solutions that protect your property and your peace of mind.
Don’t wait until a small leak becomes a major problem. Contact Vanguard Roofing today for emergency roof leak repair services or to schedule a preventive roof inspection that could help you avoid emergencies altogether.